ArcGIS Online Geocoding
This brief tutorial will walk you through the popular analysis tool called "geocoding". Geocoding matches a set of addresses with a pre-existing address database to assign geographic coordinates to your locations.
Geocoding consumes ‘credits’ in the Esri ecosystem. As a user at Brock University (or other ‘organization’ with a site license) you will be allocated a limited number of credits. Brock University affiliates should contact maplib@brocku.ca before attempting to geocode a table with more than 1000 records.
More details about credits can be found here.
Setup Instructions
In preparation for this tutorial, you will need an organizational account. As a Brock University affiliate, you already have such an account. Step 2 of this tutorial provides the pertinent details.
- Download the Excel file used in this tutorial. Niagara Sports Facilities acquired from https://niagaraopendata.ca/dataset/niagara-sports-clubs-facilities.

- Go to https://arcgis.com and follow this short guide describing steps to sign in using your Brock username/password.
NOTE: Geocoding in ArcGIS Online is limited to users with an organizational account.
-
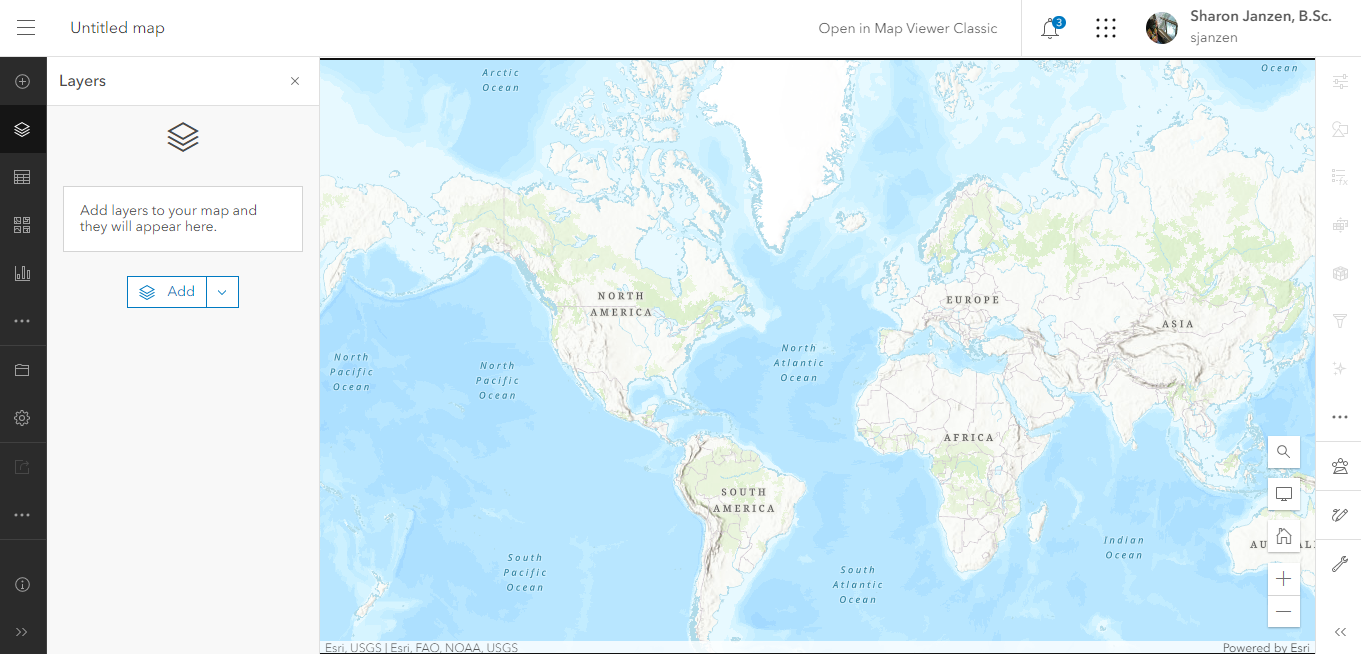
Click the Map option at the top of the screen.
This software as a service is constantly being updated. At the time of writing, the simplest way to plot points is to Add layer from file. Follow these steps:
- Click the little arrow beside the Add button
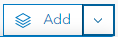
- Select the option to Add Layer From File.
- Click
- Browse to your downloaded sports facilities table, select the csv and click Open. You will be taken through a series of prompts.
- Select Create a hosted feature layer and add it to the map. Click Next.
- This prompt allows you to identify the fields to include with the hosted feature layer. Accept the defaults and click Next.
- From the location settings, change the default selection to Addresses or place names

- Scroll down a bit and change the option for Location Fields.
 .
.
- Scroll down to see how the software is matching the fields. You will need to select the field for Postal Code.
- Scrolling down a little further will reveal approximately how many credits will be used to geocode the table.

- Click Next. This page offers the option to change the layer name, storage location in ArcGIS Online and to add Tags (keywords) and a Summary.
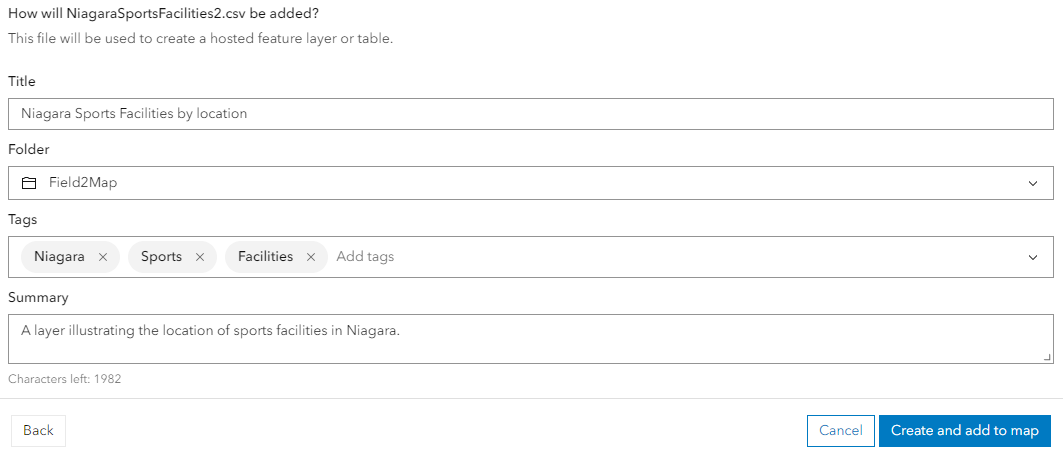
- Click
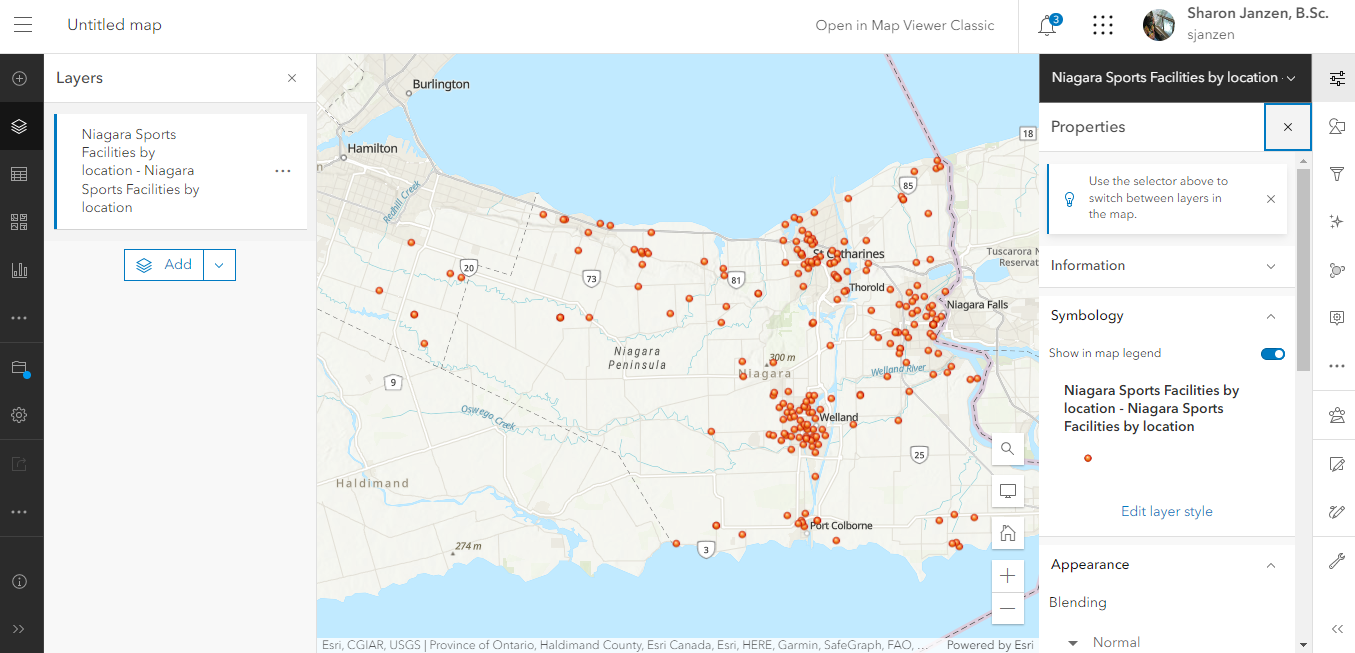
 . The results show the location of sports facilities across the Niagara Region.